SVG images are super lightweight and scale without losing quality.
And animated SVGs look amazing.
They can instantly add that extra “wow” factor to your presentations
But then reality hits: PowerPoint does not support animated SVG files.
Don’t worry! I’ll show you the options available, and the easiest free trick to get any animated SVG into PowerPoint even if PowerPoint wants to make it static!
What Is an Animated SVG?
An SVG (Scalable Vector Graphic) is a vector-based image format.
Instead of pixels, SVGs use code to draw shapes, which means:
- They stay sharp at any size
- They load fast on the web
- They can be animated using many techniques (and that is the problem): CSS, JavaScript, or embedded SMIL animations
An animated SVG is simply an SVG file where these elements move, lines draw themselves, shapes bounce, icons spin, logos draw in, etc.
They’re popular for websites, logos, UI elements… and they can seriously level up a PowerPoint slide.
Except… PowerPoint doesn’t know what to do with the animation part, because animations can be created in different ways.
Why PowerPoint Can’t Import Animated SVGs (Yet)
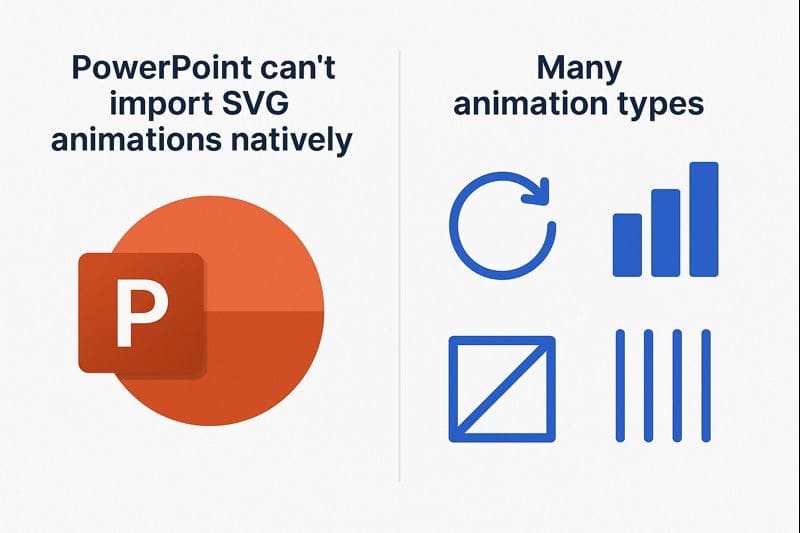
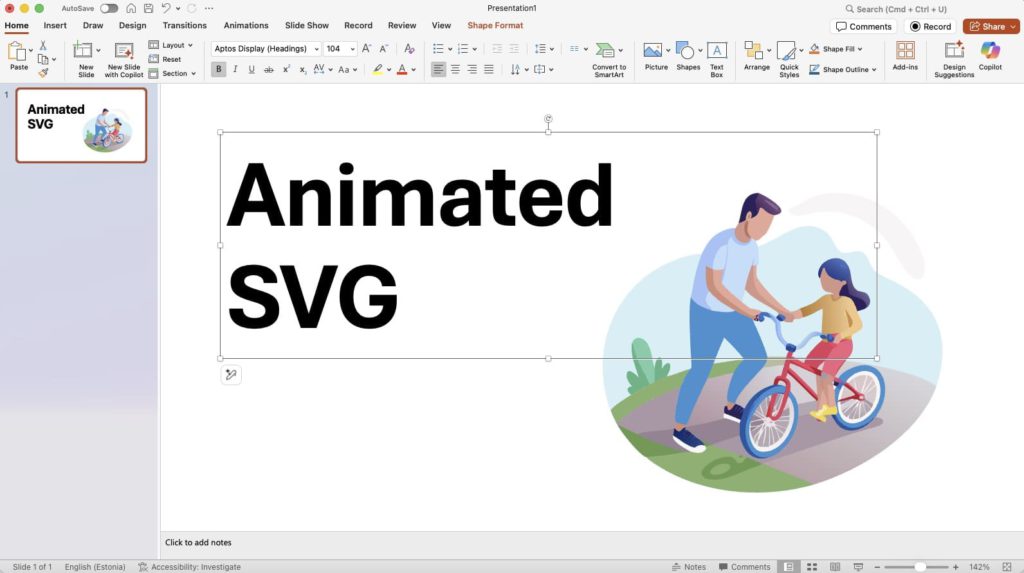
PowerPoint supports static SVG images, meaning you can insert vector graphics.
But the moment the SVG contains animations, PowerPoint strips the animation or refuses to play it.
This leaves you with three possible solutions:
Option 1: Convert the Animated SVG to a Video
This is the cleanest option because PowerPoint loves video formats (MP4, MOV).
To do this, you can use:
- Online SVG-to-video converters
- Animation tools like After Effects or Figma plugins
- Browser-based recorders
Pros:
✔ Keeps the animation
✔ Easy to insert into PowerPoint
✔ Works everywhere
Cons:
✘ Requires a tool or service
✘ Quality depends on the export settings
Option 2: Convert It to a GIF
Animated GIFs work directly in PowerPoint, and many animated SVGs convert well.
Pros:
✔ Easy to insert
✔ Plays automatically
✔ Good for small looping animations
Cons:
✘ Lower quality
✘ No transparency in some converters
✘ Larger file sizes
Still, great for simple line-draw animations.
Option 3: The BEST, Easiest, and Completely Free Trick — Screen Record It
If you want a 100% reliable way to bring any animated SVG into PowerPoint, here it is:
Just screen-record the animation and insert the video.
This method works every single time and no matter how complex the animation is.
How to do it (step-by-step):
- Open the animated SVG in your browser.
- Press Windows + G to open the free Windows Game Bar recorder
– or use QuickTime on Mac. - Record just the animation area.
- Save the recording (usually as MP4 or MOV).
- Insert the video into PowerPoint:
Insert → Video → This Device → Select your file. (or drag and drop)
Done! Full animation, perfect quality, completely free.

Why this trick is so good
- No need for any converters or plugins
- No loss of animation timing
- Works with interactive SVGs, CSS animations, and SMIL
Your animated SVG is now a clean, crisp video inside your slide — and it looks great during presentations.
Final Tips for Using Animated SVGs in PowerPoint
- Keep animations short and simple
- Looping animations look great behind text
- Use transparency for overlay effects
- Reduce file size if your presentation gets heavy
- Always test playback before presenting
When in Doubt, Just Screen-Record It 🎥✨
While PowerPoint doesn’t support animated SVG files directly (yet!), you still have great options to bring them into your slides.
But the best and easiest method especially if you want something fast and 100% reliable is simply screen recording the animation and inserting it as a video.
It’s free fast and it works with every type of SVG animation out there (because SVGs have different animation types)
If you’re ready to upgrade your slides with motion graphics, this trick will save you time and frustration.