After a first meeting with Prezi, many users want to know how to achieve the effect of showing an image after zooming “through” another image. This effect could mean many things and fortunately there is more than 1 way to zoom through an image in Prezi. This Effect can be achieved in 3 different ways:
1) Prezi 3D backgrounds:

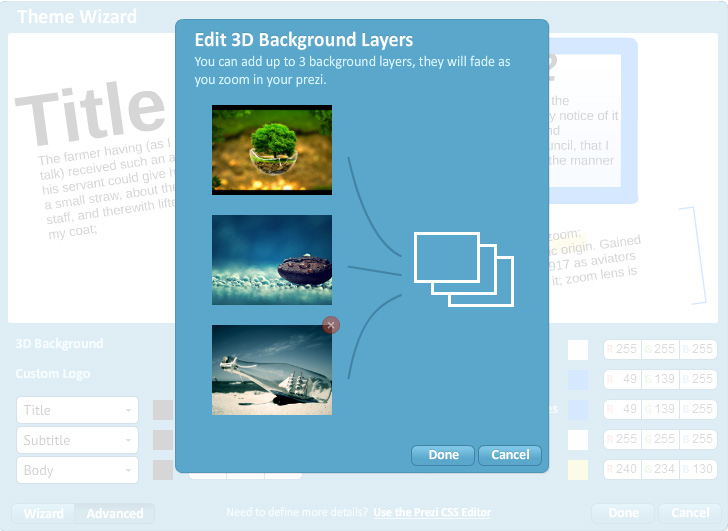
Prezi knows this is what users need and not long ago they incorporated a feature which allows to define up to 3 backgrounds. Which background is shown, depends on the level of zoom. So for example if you are zoomed in very deep, then the 3rd background is shown, however if you come back to the main screen, then only the 1st background is visible.
This feature can be accessed from the Customize menu and under Advanced button, choose the Advanced button again. Right next to the 3D background, click the Edit button.
This feature is quite handy when you are trying to achieve the zooming through effect, however there are a few downsides:
- You can’t precisely control at which point the background changes.
- The image resolution is messed up, you have a large image, but only a small portion of it is shown.
2) Zoom deep into an image:
Zooming really deep into an image and then adding another image there can also give the effect of “zooming through” image.
3) Actually zooming through method.
For really zooming through an image you would have to literally cut a small hole in your image, save it as PNG and then when you zoom through it, all the content behind it will become visible, including the Prezi background image. The bad news is you would need to use some kind of raster photo editing software, for example Photoshop and of course this option would not be very practical, as the hole would be so small that not much of the Prezi 3D background will be visible, exactly like looking through a keyhole.
