In the business and education world, video conferences, video lectures and video presentations are now an inevitable part of our lives.
However not all video tools are created equal, so we went out looking for the best tool for recording a presentation with yourself and screen the same video.
So in this tutorial I’ll be covering a super easy way to create a video presentation with yourself and your content on the screen. The end results is a quick and hassle free video which you can instantly share, using a cool called Prezi Video which literally puts other video tools to shame!
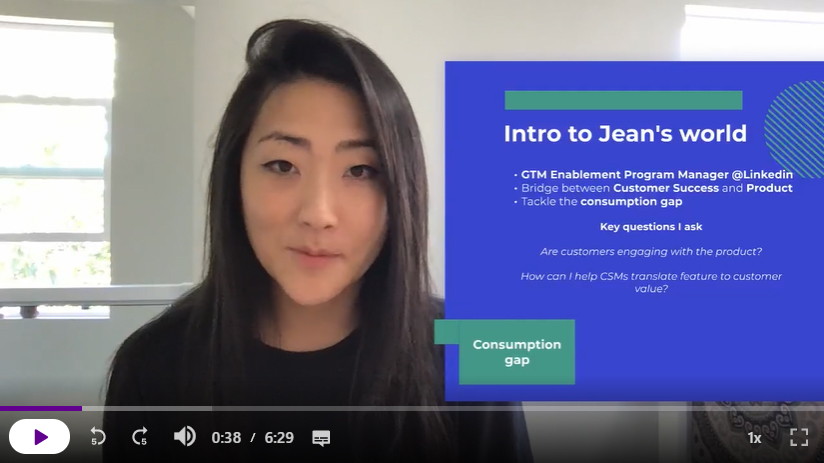
The end result is a beautiful video page which you can share with others or make a live video presentation meetings just like zoom:
The benefits of using Prezi Video Tool:
- Free – create up to 5 projects and 15 minutes of video (+ live video presentations)
- Fast – There is not video upload . You don’t need to record, render or upload huge video files. You can instantly share what you create (and I really mean instantly)
- Fun & Easy – No complicated software solutions, there’s just an easy to use online tool and creating your video is simple and intuitive.
How is Prezi Video unique?
Instead of simply presenting yourself and the computer screen, you actually make a new regular slide-based Prezi presentation (or use your existing PowerPoint slides) with your web camera input as the background.
This means you can present your slides and show yourself on the screen at the same time or simply make a voiceover to your slides.
You also have the option to record a video or make a live presentation with other attendees.
It’s a great choice for:
- School assignments – make a video and show your research.
- Business presentations – pitching your idea.
- Marketing – presenting your product or service.
Step 1 – Create a Prezi Video Account
Go to Prezi Video and create your Free account.
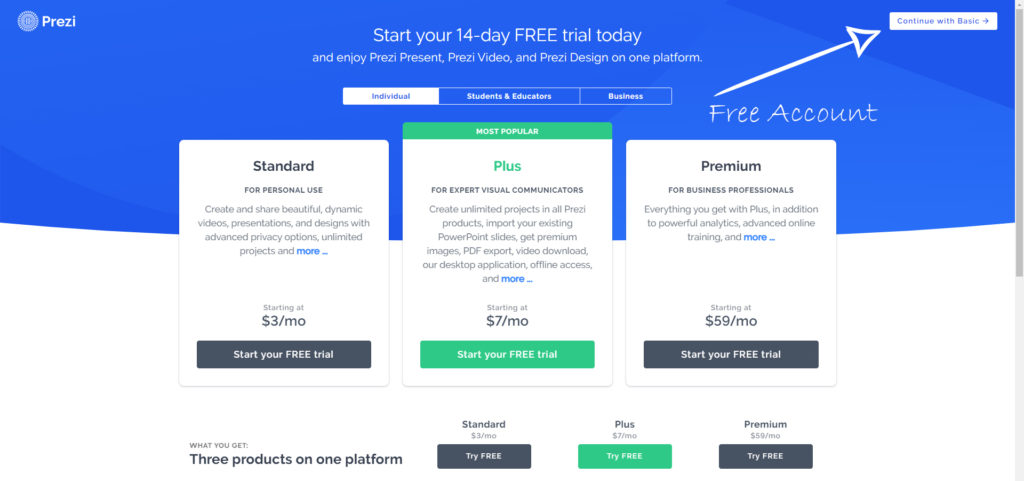
If you don’t want to make a trial pro account, be sure to click the Basic Free option in the corner (after creating your account.)
Alternatively you can also go to the Prezi Pricing page to see the different options for account types. There are also discounts for educators, but the basic account is free forever. You also have the option to sign up via Google or Facebook account.
Step 2 – Create Your Presentation & Record Video
Once you have your account setup, then you’re ready for creating your first video.
The first thing to understand here is that Prezi has many tools, which include Prezi Video, Prezi Present and Prezi Design.
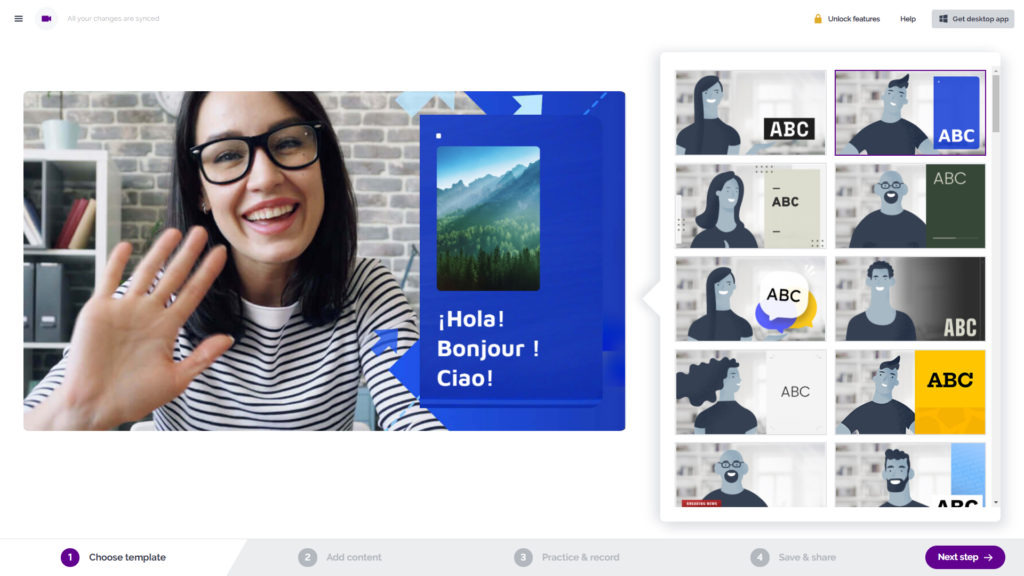
Prezi has a pretty nice onboarding and tutorial part, once you sign in, so you’ll be presented with a lot of different options, but for the sake of this video tutorial, you can directly jump to creating a blank new video.
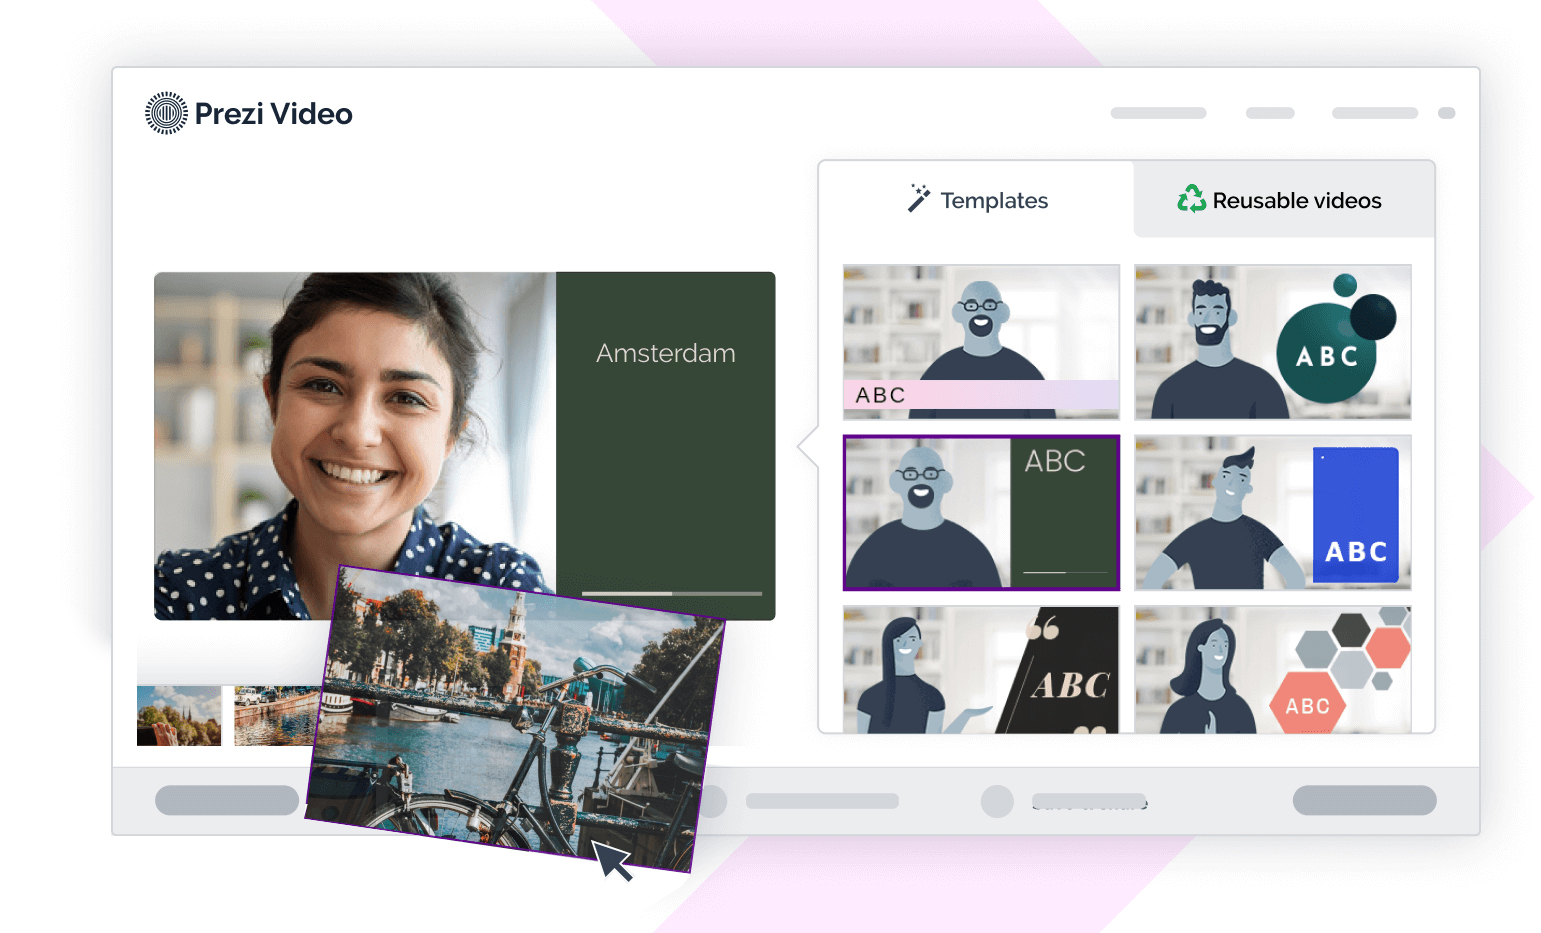
On that screen you’ll already see a decent amount amount of different video templates, which you can select and preview with your live web camera video as the background:
What’s great about the Prezi Video tool, is that you can easily toggle between the modes any time and choose whether you would like to show only the camera, camera + slides or only the slides.

Choose a template you like, and then customize the presentation with your content.
You can easily add slides (frames), and modify them with text or images.
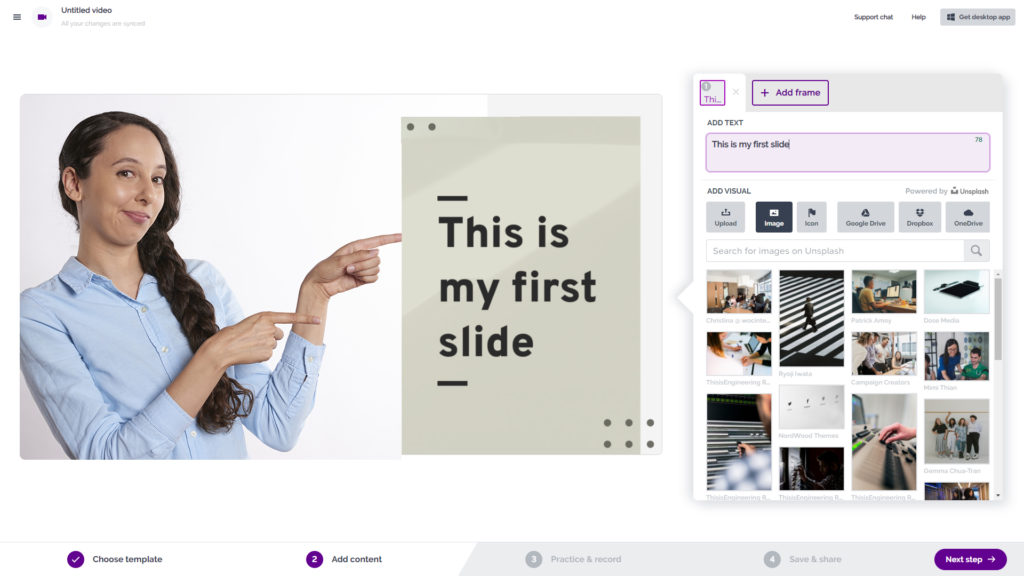
You don’t also have to worry about saving your content… all the slides which you create are automatically saved to your Prezi account under your videos.
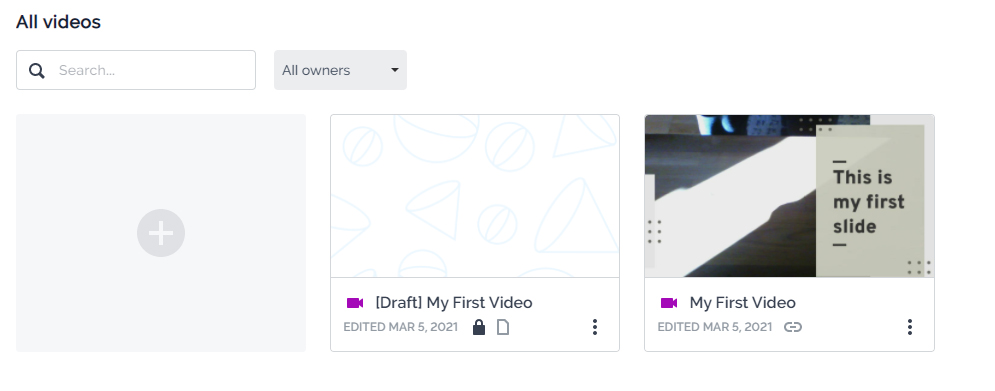
So you can always come back later and edit the frames of your video (video template) and record the actual video later.
Once your slides are all finished, then it’s time to hit that record button.
No worries, none of us are born performers, and watching yourself on video can be quite awkward, but fortunately you can easily save a few test videos, before you record the real deal.
Step 3 – Share Your Video or Make a Live Presentation
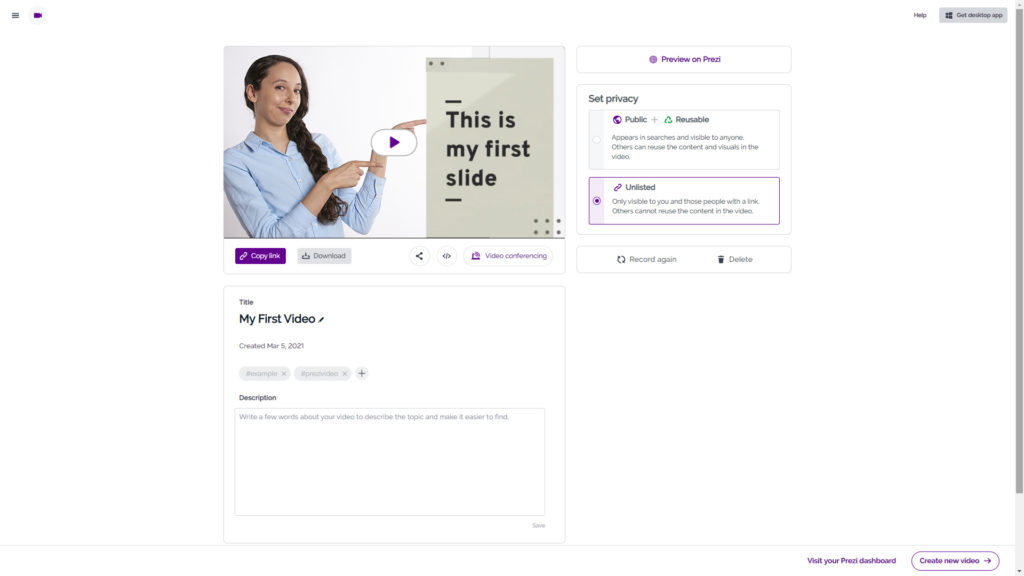
After you’ve recorded your first video, you’ll get options on how you wish to share it or record it again.
Choose whether the video is public or private or share the link to the video. You can even control if the video (the slide content) is reusable, meaning other people can also create a video with the slides you have designed…
and you can also browse for hundreds of video templates yourself, and reuse content other people have made.
Extra Option – Make a Custom Presentation or Import PowerPoint
Another great thing about Prezi video is, that you don’t have to start from scratch to create your content, but you can also use all the existing 1000+ Prezi Templates for making your presentation or import
In this step you can also first create your presentation content, just like you would in PowerPoint, however keep in mind that for best results, keep content on one side of the screen, so you also have room for yourself in the video.
Top Reasons You’ll Love Prezi Video:
Turn on auto captions – this will generate an auto transcript so the viewers of the video can also see and read the text.
Choose from templates – there’s also a decent amount of video template which are 100% designed for this specific use case.
Import Powerpoint – you can also import your existing PPT slides to Prezi, and make a video presentation with your PowerPoint slides.
Control privacy and sharing – no downloading of huge video files. Instantly Share what you create.